Security
Use Estelle Security to scan a repository, control scope and fix options, evaluate findings and reproduction evidence, and record human triage decisions.
View as MarkdownEstelle Security investigates a repository at a selected branch, tag, or commit and publishes security findings with severity, code locations, evidence, and suggested fixes. Its coverage report shows what was actually investigated, and its validation state distinguishes a reproduced problem from one that remains untested or inconclusive.
#When to run a scan
Use Security before a release, after changes to authentication, billing, permissions, or input handling, and when you want a repository-wide security review rather than a pull-request-only review. Use Prism for findings on a proposed diff and Estelle CI for build and test evidence.
A scan cannot prove that a repository has no vulnerabilities. It reports problems in the code it investigated and coverage gaps in the work it could not complete.
#Start and approve a scan
Choose the code
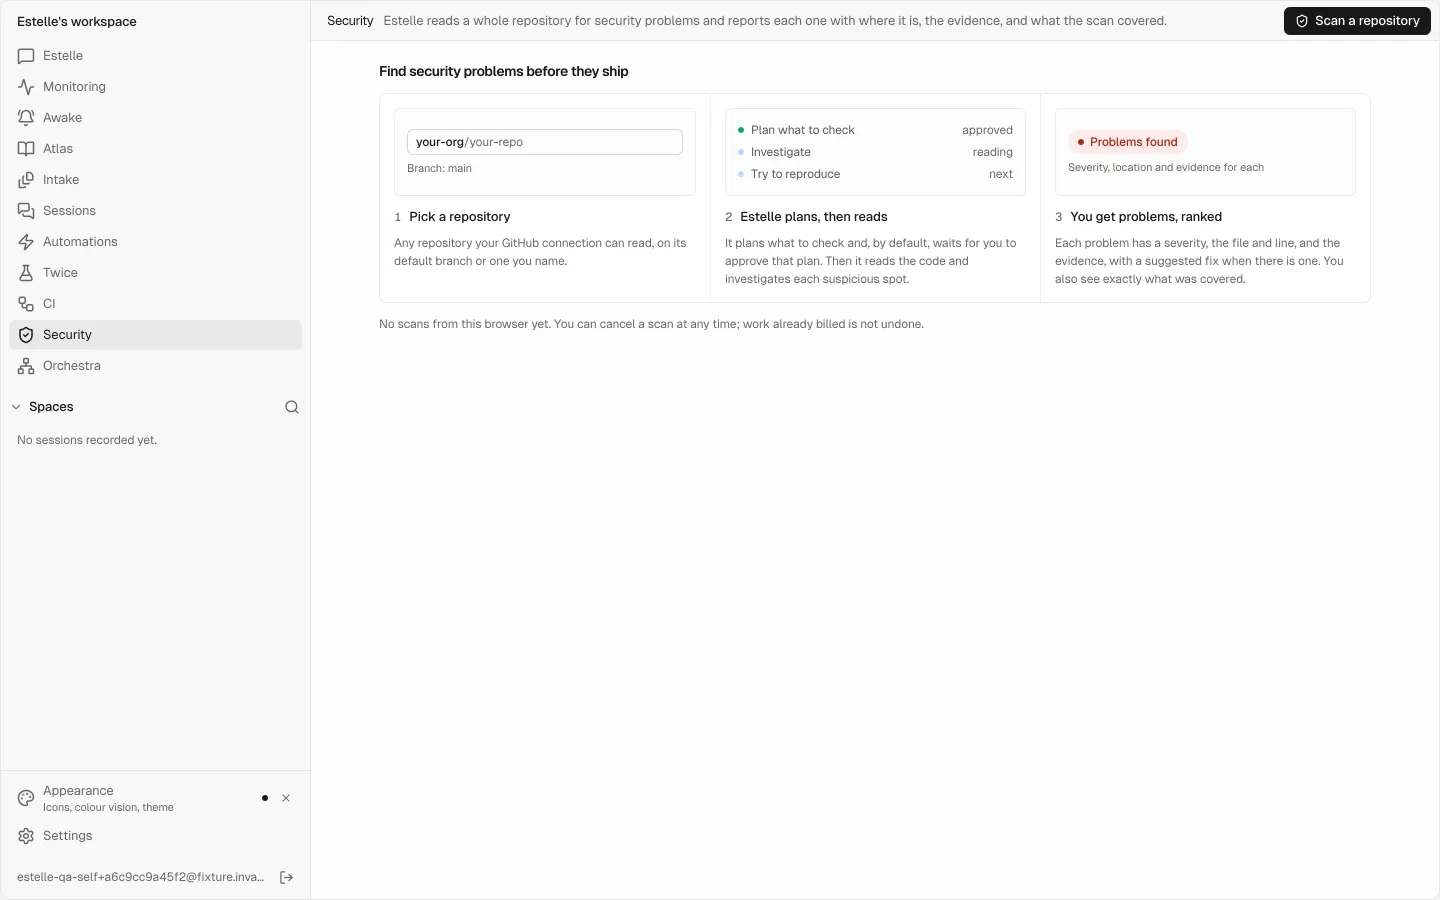
Open Security → Scan a repository. Enter
owner/namefor a repository your GitHub connection can read. Optionally enter a branch, tag, or commit; leave it empty for the default branch.Choose plan approval and scan controls
Keep Let me approve the plan before Estelle reads the code selected to pause after planning. Clear it to run without that pause.
Under Advanced: scope, fixes and batch size, choose the scope, which findings may receive fix proposals, and how many files each investigation step reads together.
Review the plan
Choose Start scan. If you requested approval, wait for Waiting for you, read The plan to approve and its assumptions about the app, then choose Approve the plan. The scan does not continue until you approve.
Read coverage and findings together
Open the finished report. Check the commit, scope, coverage status, and files investigated before drawing a conclusion from the findings list.
While a scan runs, its page shows its current stage and investigation progress. Findings published before completion are possible results, not the final report. Cancel scan stops a running scan; work already billed is not refunded.
#Choose scan controls
| Control | Choices and effect |
|---|---|
| What to scan | The whole repository scans the selected ref. Only what changed since the last scan currently runs a full scan because no scan baseline is kept; the result says so. |
| Fixes | Choose none, P0 Critical, or P0 Critical and P1 High. When the scan publishes, each finding at those severities gets a coding session, at most three per scan, most severe first. A session checks the finding is real, then opens a draft pull request a person merges. Sessions use your credits on top of the scan and need the workspace's autonomy at Propose; otherwise the scan says no session started and names the setting. |
| Batch size | Choose 1 to 500 files per investigation step. A smaller batch lowers the work in one step; it does not change the selected repository scope. |
The approval checkbox is the current way to guide a scan before investigation. A scan does not accept custom written guidance for its threat model, investigation, or triage.
Validation is part of the scan rather than a separate switch. The scan tries to reproduce findings that its environment can test and records the outcome as exploitability. You cannot request another validation pass on a finished scan from this page. When budget leaves findings waiting for validation, the workbench offers Resume testing.
#Understand the scan verdict
Read the report in this order:
- Execution state. A failed, cancelled, or incomplete scan is not a clean scan.
- Coverage. Complete and partial describe the work covered, not whether the code is safe. Partial coverage lists reasons and what remains uninvestigated.
- Findings. The report counts published problems and separately identifies those ruled out with evidence.
- Reproduction. A reproduced finding has stronger evidence than one that was not tested or could not be tested.
A headline such as No findings in N of M files assessed in depth is a statement about those files only. No findings plus partial coverage, a missing findings block, or a scan that stopped early must not be read as “safe.”
#Investigate a finding
Findings are grouped into Open, Reviewed, and Dismissed, then ordered by severity. Severity labels are P0 Critical, P1 High, P2 Medium, and P3 Low; severity is assigned by the scan and cannot be edited in triage.
Open a finding to inspect:
- its category, severity rationale, confidence, status, and exploitability;
- file and line references and code excerpts;
- the suggested action;
- the attack path when the evidence identifies where untrusted input enters and where it reaches;
- evidence with secrets redacted;
- assumptions and evidence that would change the conclusion.
Exploitability has distinct meanings:
| State | What it tells you |
|---|---|
| Reproduced | The scan reproduced the problem in its validation environment. |
| Ruled out with evidence | The investigation rejected the candidate and kept the reason. It appears under Dismissed, not as an open problem. |
| Couldn't test: environment | The environment prevented a reproduction attempt. The finding is not thereby false. |
| Not tested yet: budget | Validation was deferred by the budget. Resume testing if you want that evidence. |
| Inconclusive | The attempt did not settle exploitability. |
| Not tested | No reproduction was performed. |
The finding shows the recorded validation state. Detailed reproduction commands, output, and timestamps are not attached to findings, so do not read Reproduced as a ready-to-run exploit script.
#Triage and request fixes safely
Use Dismiss when the finding is not a real problem, or Accept the risk when you deliberately accept it. Both require a written reason, which is recorded with the decision. Accepting risk or proposing a fix moves a finding to Reviewed; dismissing it moves it to Dismissed.
For an eligible finding on a finished scan, choose Fix with Estelle. The button explains when a finding is not eligible, for example because it was dismissed, already has fix work, or lacks the reproduction evidence required at its severity. Estelle prepares a pull request for review when it can. A person reviews, tests, and merges it; nothing merges automatically.
Before merging a security fix, check that it addresses the attack path and assumptions in the finding, then run the relevant application tests. A proposed change is not proof that the vulnerability is gone.
#Scan repositories automatically
The Automatic security scans row lets a team admin or owner choose a cadence or turn automatic scanning off. Available cadences are shown by the server and can include weekly, daily, hourly, or more frequent scans.
Automatic scanning also covers pushes to the default branch. An unchanged commit is not scanned twice. The row shows the credit cap per scan and the maximum repositories per run, so check those limits before enabling it across a workspace. Automatic and manual scans both need review: a scheduled empty findings list has the same coverage limits as a manual one.
#History and cost
The scan list in this browser holds the last 20 scans started here. It is a convenience, not the workspace's complete scan history: scans started by teammates, from the CLI, or in another browser do not appear in this list.
Scans use Estelle Credits. A request that cannot cover the initial cost is refused before work starts. The report's Cost section shows credits charged and whether the final receipt is settled. Cancelling does not reverse work already billed. See Plans and credits.